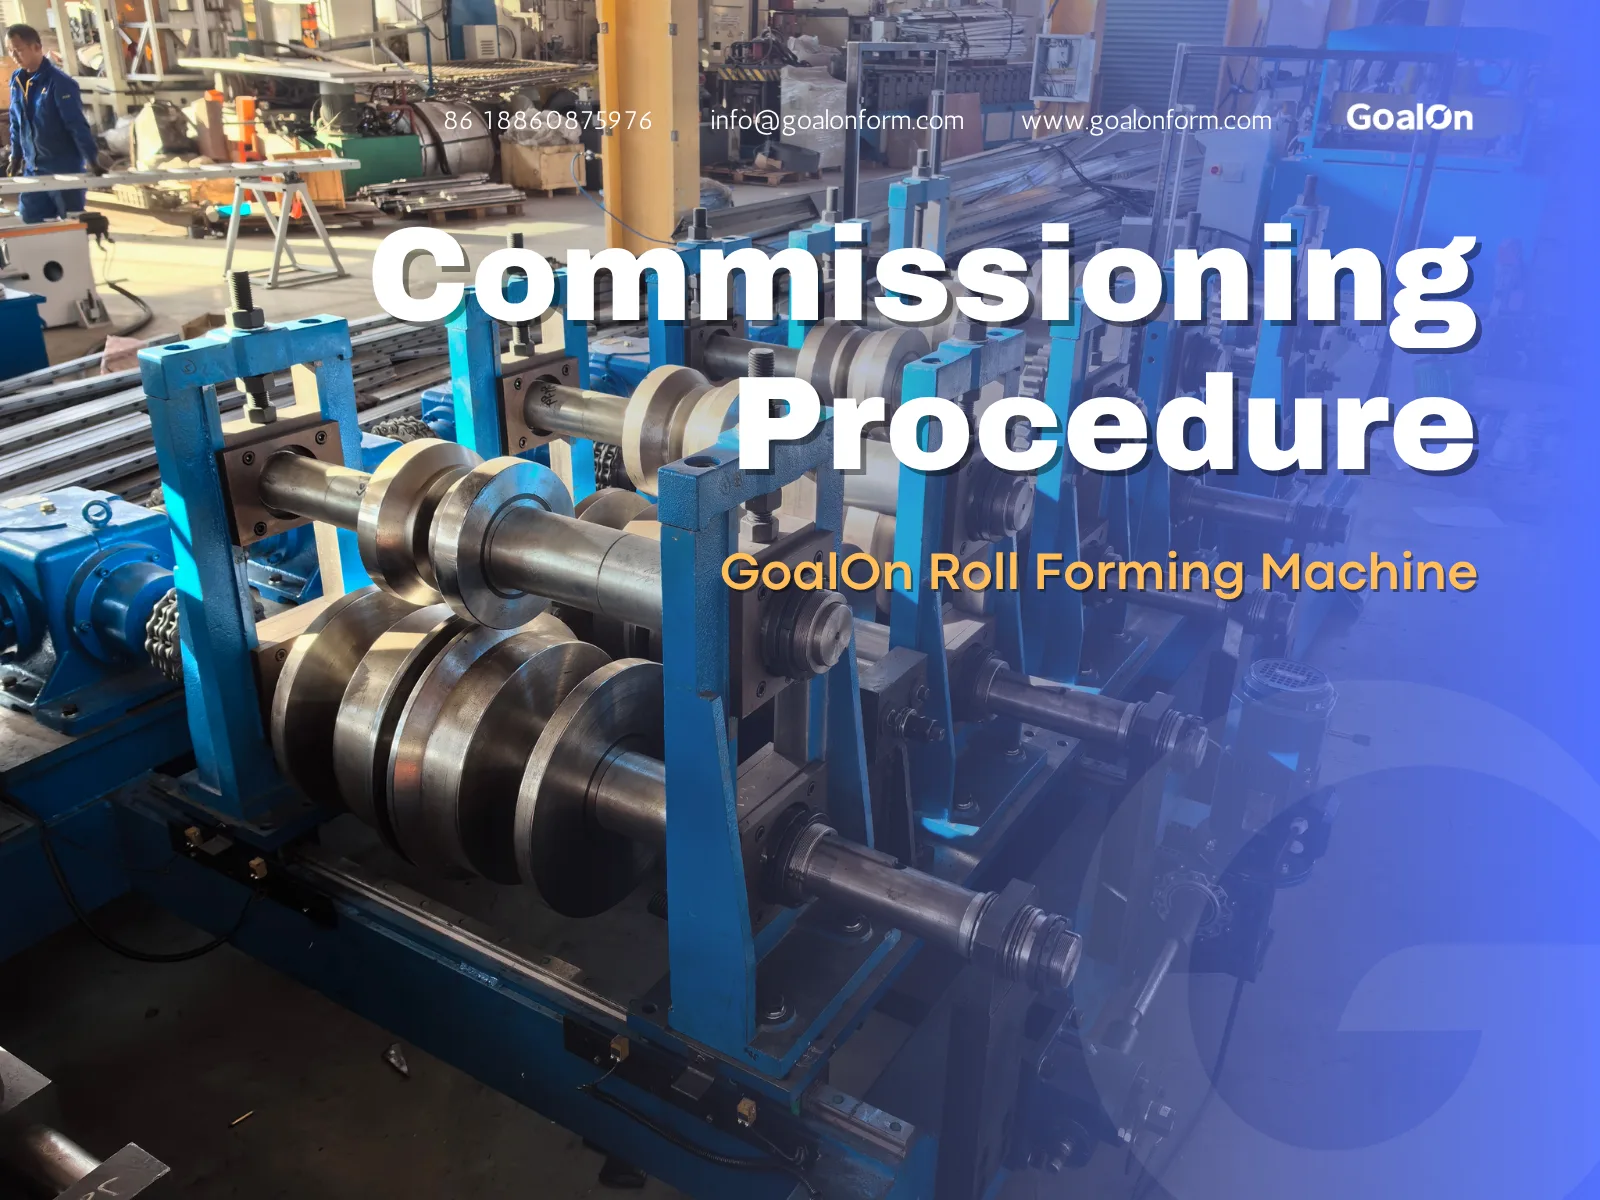
Cold roll forming machine commissioning is the controlled process of checking, adjusting, testing, and documenting a new or relocated line before it enters regular production. Done well, commissioning helps the roll forming machine run safely, form accurate profiles, reduce scrap, and give operators a reliable starting point for future changeovers. Use the following methods as a practical sequence for mechanical, electrical, tooling, and production validation.
What should be ready before commissioning starts?
Before commissioning begins, the machine, tooling, utilities, drawings, and people should all be ready for a controlled trial. Commissioning is not the time to discover missing fasteners, unclear wiring, incomplete foundations, or unavailable coil material. The goal is to remove preventable interruptions so the team can focus on alignment, forming quality, safety, and repeatable operation.
Prepare these items first:
- Machine documentation: layout drawings, electrical schematics, hydraulic or pneumatic diagrams, tooling drawings, operation manuals, and parameter sheets.
- Installed utilities: correct power supply, compressed air, hydraulic oil, lubrication, grounding, drainage, and safe access around the line.
- Tooling and consumables: roll sets, spacers, keys, shafts, forming lubricant if used, cutting blades, fasteners, shims, and measuring tools.
- Test material: coil or strip in the correct grade, thickness, width, surface finish, and edge condition for the intended profile.
- Safety readiness: guarding, emergency stops, lockout points, warning labels, light curtains if fitted, and clear operator walkways.
- People and roles: an installer or technician, operator, electrical support, quality inspector, and production representative when possible.
1. Inspect the installed machine before power-up
Start with a full visual and mechanical inspection while the roll forming machine is still isolated from power. Confirm that the base is level, anchored, and free from shipping damage. Check that stands, shafts, gearboxes, couplings, chain drives, guards, fasteners, and covers are installed correctly and tightened.
Look closely at the route the strip will follow from decoiler to straightener, roll forming stands, punching unit if fitted, cutoff, runout table, and stacking area. Misalignment between these stations can create scratches, twist, camber, poor feeding, and inconsistent cut length. A simple centerline check at this stage can prevent hours of troubleshooting later.
Do not rush this inspection. Remove packing materials, clean protective grease from working areas as required, and make sure no tools or loose parts remain inside the machine. Commissioning should begin from a clean, stable, and safe baseline.
2. Verify electrical, hydraulic, and pneumatic systems
Once the mechanical inspection is complete, verify the service connections against the machine documentation. Check voltage, phase, grounding, cable routing, cabinet cleanliness, terminal tightness, sensor connections, and motor direction. If the machine uses a PLC, HMI, servo drive, or encoder, confirm that all communication cables are secured and labeled.
For hydraulic systems, check oil level, hose routing, pressure settings, filter condition, leaks, and pump rotation before applying load. For pneumatic systems, confirm air pressure, regulator settings, lubrication requirements, and cylinder movement. Low air pressure or incorrect hydraulic pressure can make an otherwise good machine appear unstable during commissioning.
Power up in stages. Test the control cabinet first, then auxiliary functions, then jog individual motors or drives where the machine design allows. Record any alarms and resolve them before moving to automatic operation.
3. Confirm safety functions before running material
Safety checks must happen before trial production, not after the line is already moving at speed. Test every emergency stop, guard interlock, safety gate, pull cord, light curtain, and reset function fitted to the machine. Confirm that stopping behavior is predictable and that the system cannot restart unexpectedly after a safety interruption.
Also check the operator’s normal working positions. The HMI should be readable, controls should be clearly marked, and the operator should not need to reach across moving material or rotating shafts. If the line includes decoiling, punching, or flying cutoff, pay special attention to pinch points and stored energy.
A useful safety commissioning checklist includes:
- Lockout and isolation points are identified.
- Emergency stops stop the intended motion.
- Guards and interlocks function correctly.
- Warning signs and labels are visible.
- Operators understand safe jog, manual, and automatic modes.
- Scrap, oil, and finished parts can be removed without entering danger zones.
4. Align the roll tooling and forming stands
Tooling alignment is one of the most important parts of commissioning a cold roll forming machine. The forming rolls must sit squarely on the shafts, match the profile drawings, and maintain the correct pass line. If the roll set is installed incorrectly, the machine may still produce a shape, but it will often show twist, flare, wrinkles, scratches, or unstable dimensions.
Begin by checking that all rolls, spacers, keys, nuts, and side guides are installed in the correct sequence. Then verify the horizontal and vertical alignment of each stand. The top and bottom shafts should be parallel, and the gap should match the material thickness and forming requirement.
Set side guides carefully. Guides should support strip entry without forcing the material sideways. Over-tight guides can mark the strip or introduce edge wave, while loose guides can allow wandering and inconsistent forming.
5. Run the machine dry at low speed
A dry run means operating the machine without strip material. Use this step to confirm smooth rotation, correct direction, stable lubrication, normal sound, and proper control response. Keep the line at low speed and use jog or manual mode until all rotating components are observed.
Listen for abnormal noise from bearings, gearboxes, chains, shafts, and couplings. Watch for vibration, uneven roll movement, loose guards, slipping belts, or unexpected stops. If anything sounds wrong, stop and inspect before moving forward.
Dry running is also the right time to test the sequence of automatic functions. Confirm that decoiler control, straightener movement, punching signals, cutoff cycle, length measurement, and runout handling operate in the correct order. The machine should behave predictably before material is introduced.
6. Feed test strip slowly and observe the first pass
Introduce material slowly and carefully. Make sure the leading edge is straight, deburred if needed, and guided into the first forming stand without catching. Keep hands clear and use approved feeding tools or procedures.
At this stage, the objective is not speed. The objective is to watch how the strip enters each forming pass and whether it tracks along the intended centerline. Stop frequently, inspect the partially formed profile, and look for early warning signs such as edge buckling, marking, uneven bending, or material drifting to one side.
If the strip wanders, do not immediately compensate by forcing the guides tighter. First check coil centering, entry alignment, roll position, material width, and pass line. A small entry error can become a large profile defect by the final stands.
7. Adjust profile dimensions in a controlled order
After the first complete profile comes out of the roll forming machine, measure it against the drawing or sample requirement. Check width, height, angle, radius, flange position, hole locati0n, straightness, twist, bow, camber, and cut length as relevant to the product. Mark the sample and record the machine settings before making changes.
Adjust one variable at a time whenever possible. Random changes make it difficult to know what solved the problem and what created a new one. Start with the most likely source: tooling sequence, stand gap, side guide position, pass line, straightener setting, or cutoff timing.
Common adjustment logic includes:
- Profile too open: check forming pressure, roll gap, and final pass settings.
- Profile too closed: reduce over-forming where appropriate and inspect material springback.
- Twist: check stand alignment, uneven roll pressure, and side guide force.
- Camber: inspect entry centering, coil edge condition, and unequal forming load.
- Scratches: inspect roll finish, trapped debris, guide contact, and lubrication.
- Poor cut length: verify encoder contact, measuring wheel pressure, servo timing, and material slip.
How do you know the commissioning settings are stable?
Commissioning settings are stable when the machine can produce repeated parts within the required tolerance, under normal line conditions, without constant manual correction. One good sample is not enough. The line should run a meaningful trial batch so the team can see how it performs after the strip is moving, the tooling is loaded, and the cutoff or punching cycle repeats.
Run several samples at low speed first, then increase speed gradually. At each stage, measure parts and compare the results. If quality changes dramatically as speed increases, investigate vibration, feeding control, lubrication, material tension, or cutoff synchronization.
Record stable parameters, including:
- Material specification and coil width.
- Stand gaps or reference positions.
- Side guide positions.
- Straightener settings.
- Punching or cutting parameters.
- Line speed used during approval.
- Measured part results and sample labels.
Good records turn commissioning into a repeatable production setup rather than a one-time success.
8. Validate punching, cutting, and downstream handling
If the line includes punching, notching, embossing, or cutoff equipment, validate these systems after the profile is forming correctly. Hole locati0n and cut length depend on stable feeding, accurate sensing, and correct timing. A forming problem upstream can look like a punching or cutting problem downstream, so solve profile stability first.
Check blade clearance, die alignment, slug removal, sensor position, encoder feedback, and part transfer. Inspect cut edges for burrs, deformation, or crushing. If the profile distorts during cutting, the clamp pressure, blade condition, support tooling, or cutoff timing may need adjustment.
Downstream handling also matters. A good profile can be damaged by a poorly adjusted runout table, stacking system, or manual collection method. Make sure finished parts leave the machine smoothly and do not collide, drag, or bend after cutting.
9. Train operators during the commissioning run
Operator training should be part of commissioning, not a separate event after the technician leaves. The people who will run the machine need to understand startup checks, safe feeding, HMI operation, speed changes, lubrication points, common alarms, sample inspection, and shutdown procedures.
Use the actual trial run as a teaching tool. Let operators see how small adjustments affect the finished profile and why uncontrolled changes create confusion. Encourage them to record settings and report symptoms clearly instead of guessing.
A practical operator handover should cover:
- How to load and center material safely.
- Which settings may be adjusted by operators.
- Which settings require maintenance or engineering support.
- How often to inspect samples during production.
- What defects require immediate stop and review.
- How to clean, lubricate, and protect the tooling after use.
What should you do if defects keep returning?
If the same defect returns after adjustment, stop treating it as a quick setting issue and trace it back through the process. Repeating twist, camber, scratches, or length variation usually means there is a root cause in alignment, material condition, tooling setup, control feedback, or handling. Document the defect, isolate the station where it begins, and test one correction at a time.
A simple troubleshooting method is to inspect the profile after selected forming stands, not only at the finished end. This helps identify where the defect first appears. If the strip looks good in early passes but fails near the end, focus on later stand pressure, final sizing, or cutoff support. If the problem starts immediately, focus on entry condition, side guides, coil centering, or the first forming passes.
Avoid compensating for a mechanical problem with excessive pressure or guide force. That may hide the symptom temporarily while increasing wear, marking, and instability.
10. Approve the line and lock in the baseline
Final approval should combine safety confirmation, sample inspection, production trial results, and documentation. Keep approved samples, measured reports, machine settings, and notes about any special setup requirements. If changes were made to tooling, controls, or guarding during commissioning, update the documentation so future teams are not working from outdated information.
Before release to production, complete a final walkaround. Check leaks, fastener security, guarding, cable protection, scrap removal, lubrication, and the cleanliness of the work area. Confirm that operators know who to contact if quality or safety issues appear.
Commissioning a cold roll forming machine is successful when the line can be started, run, inspected, adjusted, and stopped with confidence. A careful process may take more time at the beginning, but it gives production a stronger foundation: fewer surprises, clearer settings, safer operation, and more consistent formed parts.